
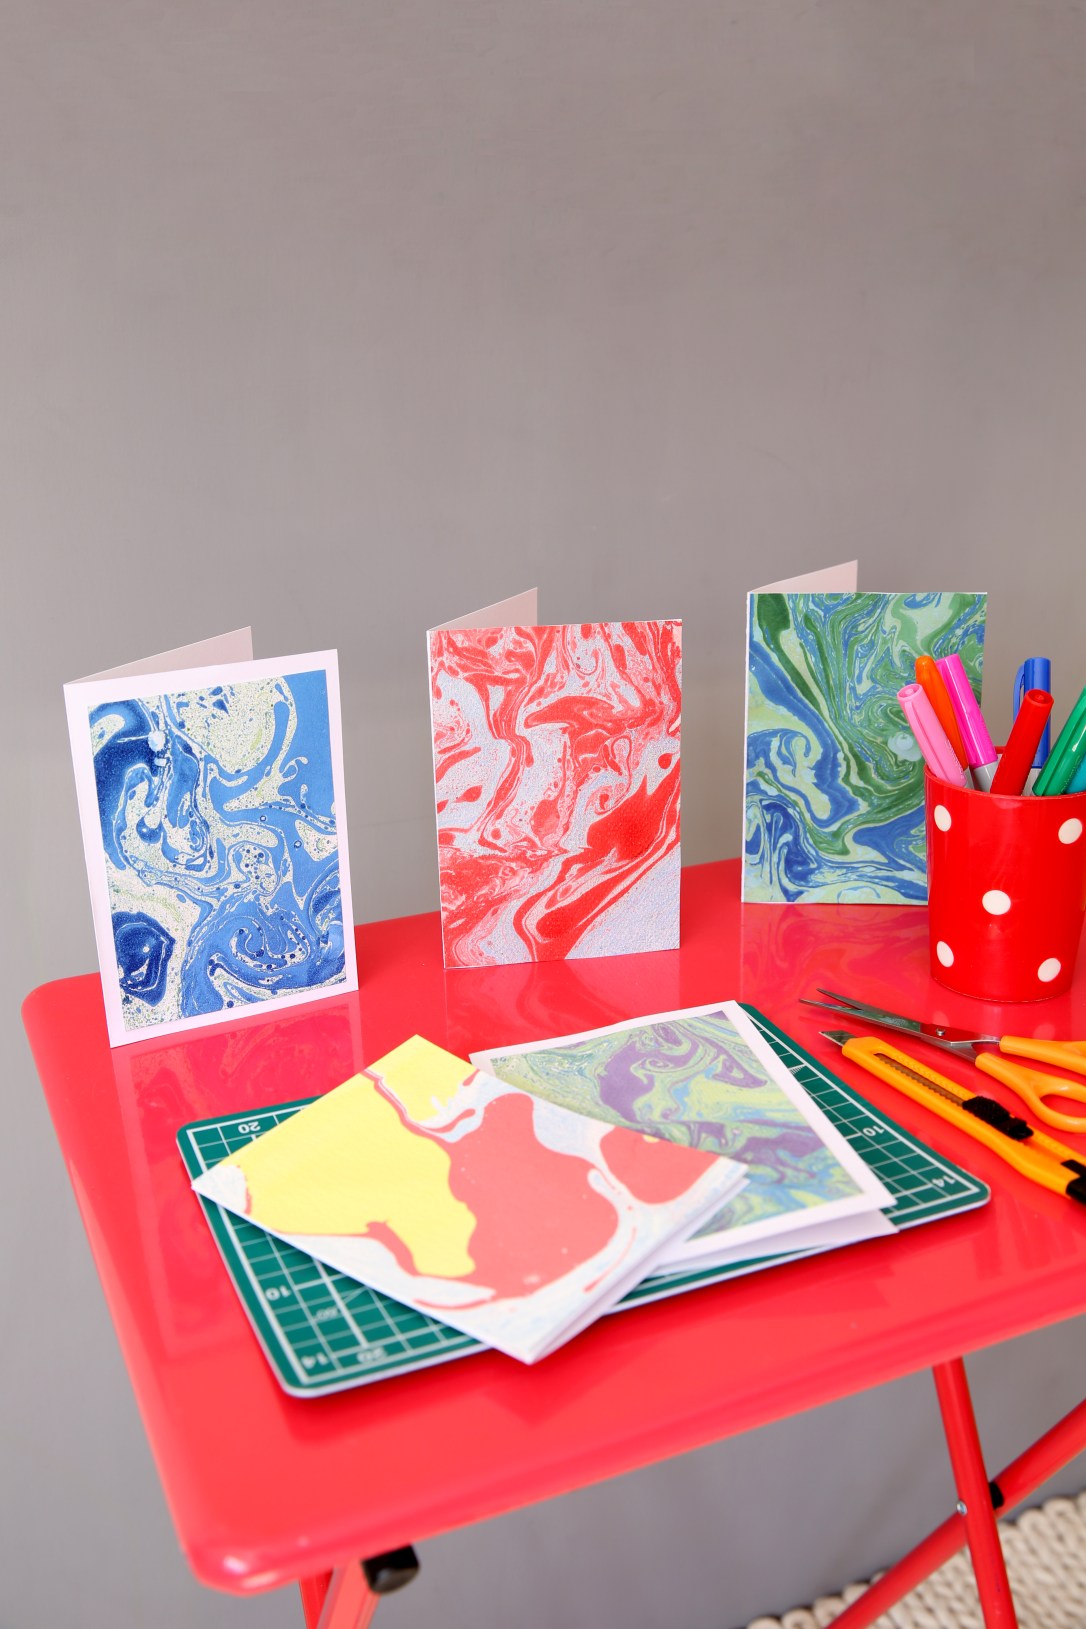
These cards are made using a very simple but effective technique –marbling. Once the design is made they are stuck onto plain cards using double sided tape.
You will need
Lots of space for drying.
Shallow tray, large enough to fit the paper.
Marbling inks
Lolly or cocktail stick
Lots of newspaper
Kitchen roll
Protective gloves
Instructions to marble paper
- Cover the work area with lots of newspaper. Fill the tray with 3cm of water.
- Prime the surface of the water by putting a drop of marbling ink onto the surface of the water. Wipe it away with some kitchen paper.
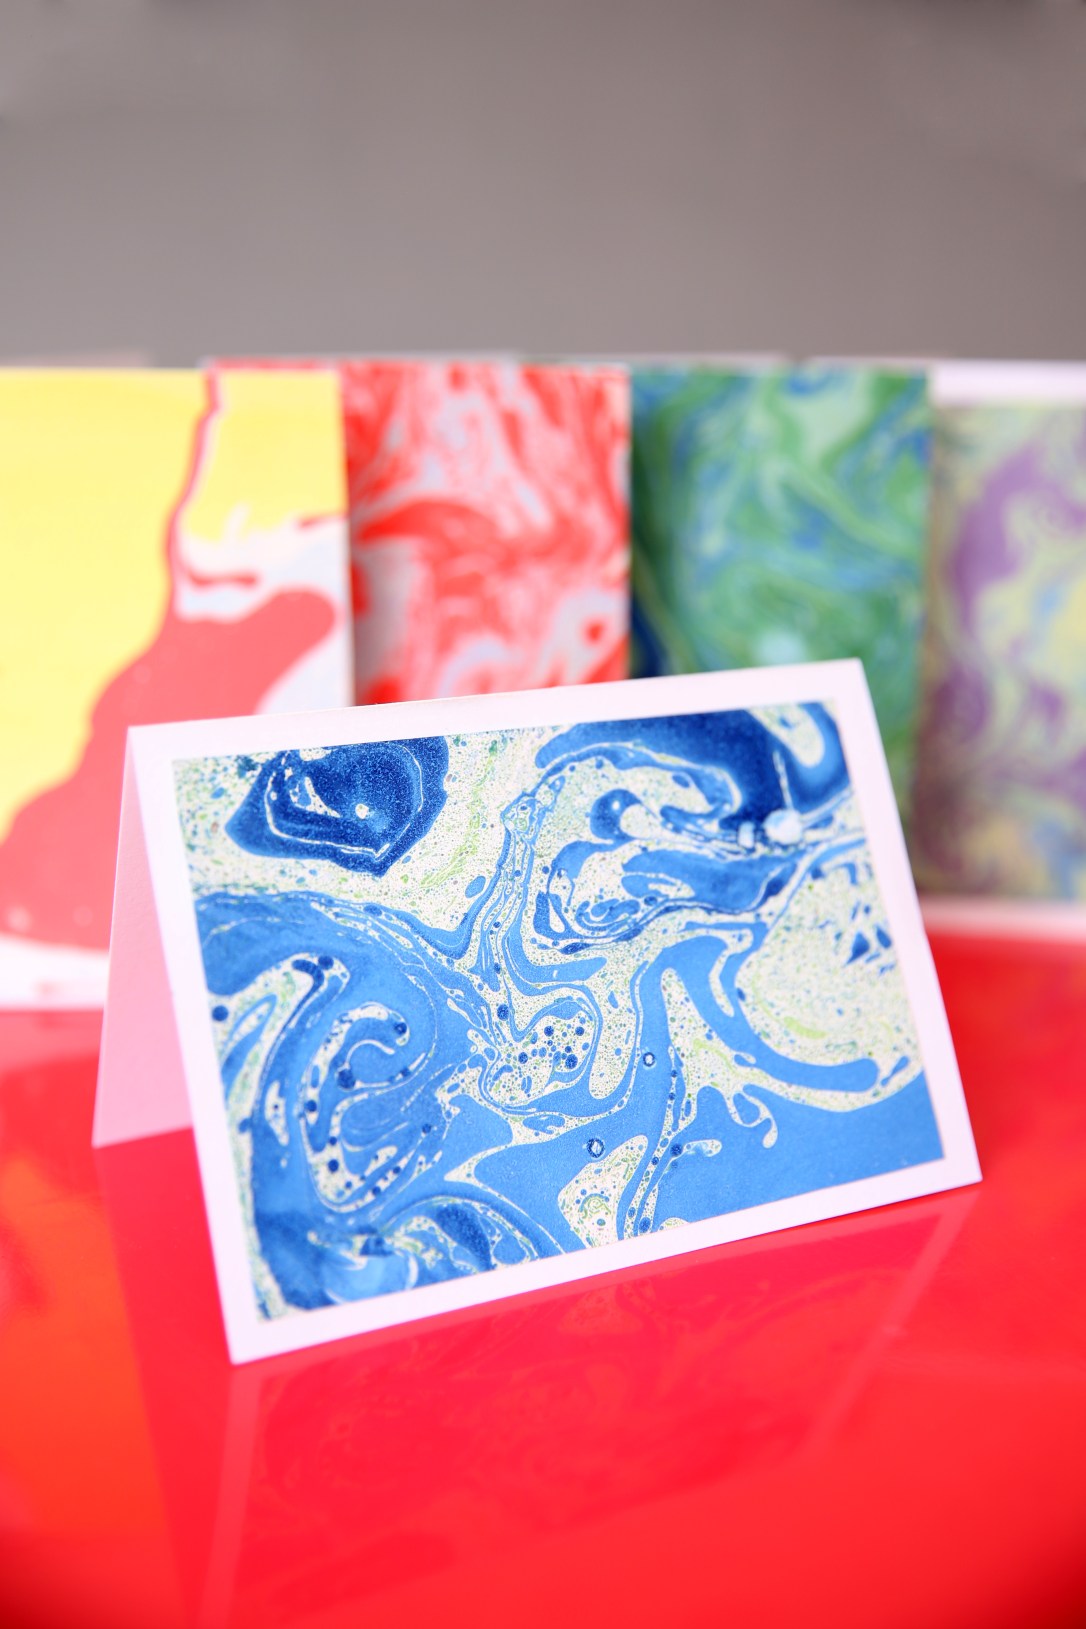
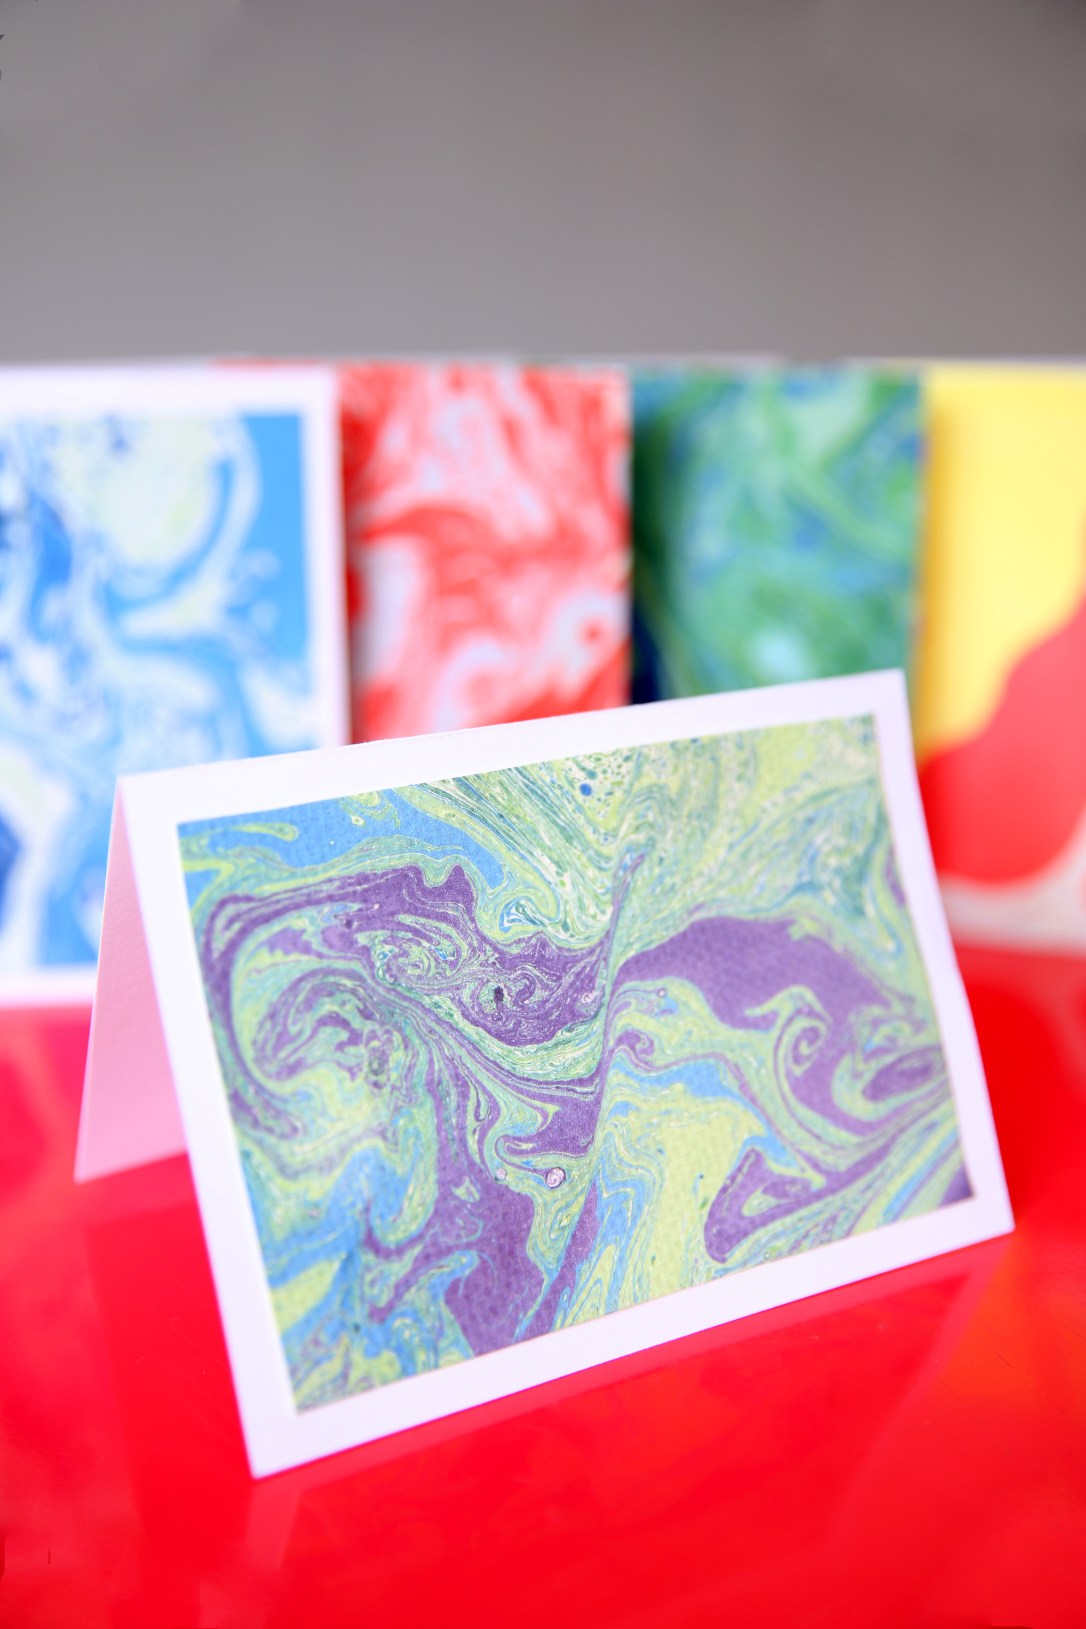
- Using the dropper bottle apply 1 or 2 drops of marbling ink onto the surface of the water. Either blow it or give it a quick stir with a stick or back of a paintbrush.
- Place a piece of paper on top of the water and inks and then lift it off. The design will be on your paper.
- Leave the sheet to dry. You can try a second print but it will probably come out lighter than the first.
- Add more drops of ink and repeat steps 3 and 4
- Remove excess ink from the surface of the water with a scrap of paper.
Tip Wear disposable latex gloves for the whole project, as it makes it much less mucky.
Credits –
Marbling ink – Homecrafts (https://www.homecrafts.co.uk)
Red table – Habitat (http://www.habitat.co.uk/)


I love all your marbling projects! I have a thing for marbles in my art lately. A year ago I introduced my 3 sons to shooting marbles. And since then have a beautiful collection of marbles. Thanks for sharing!
LikeLiked by 1 person