
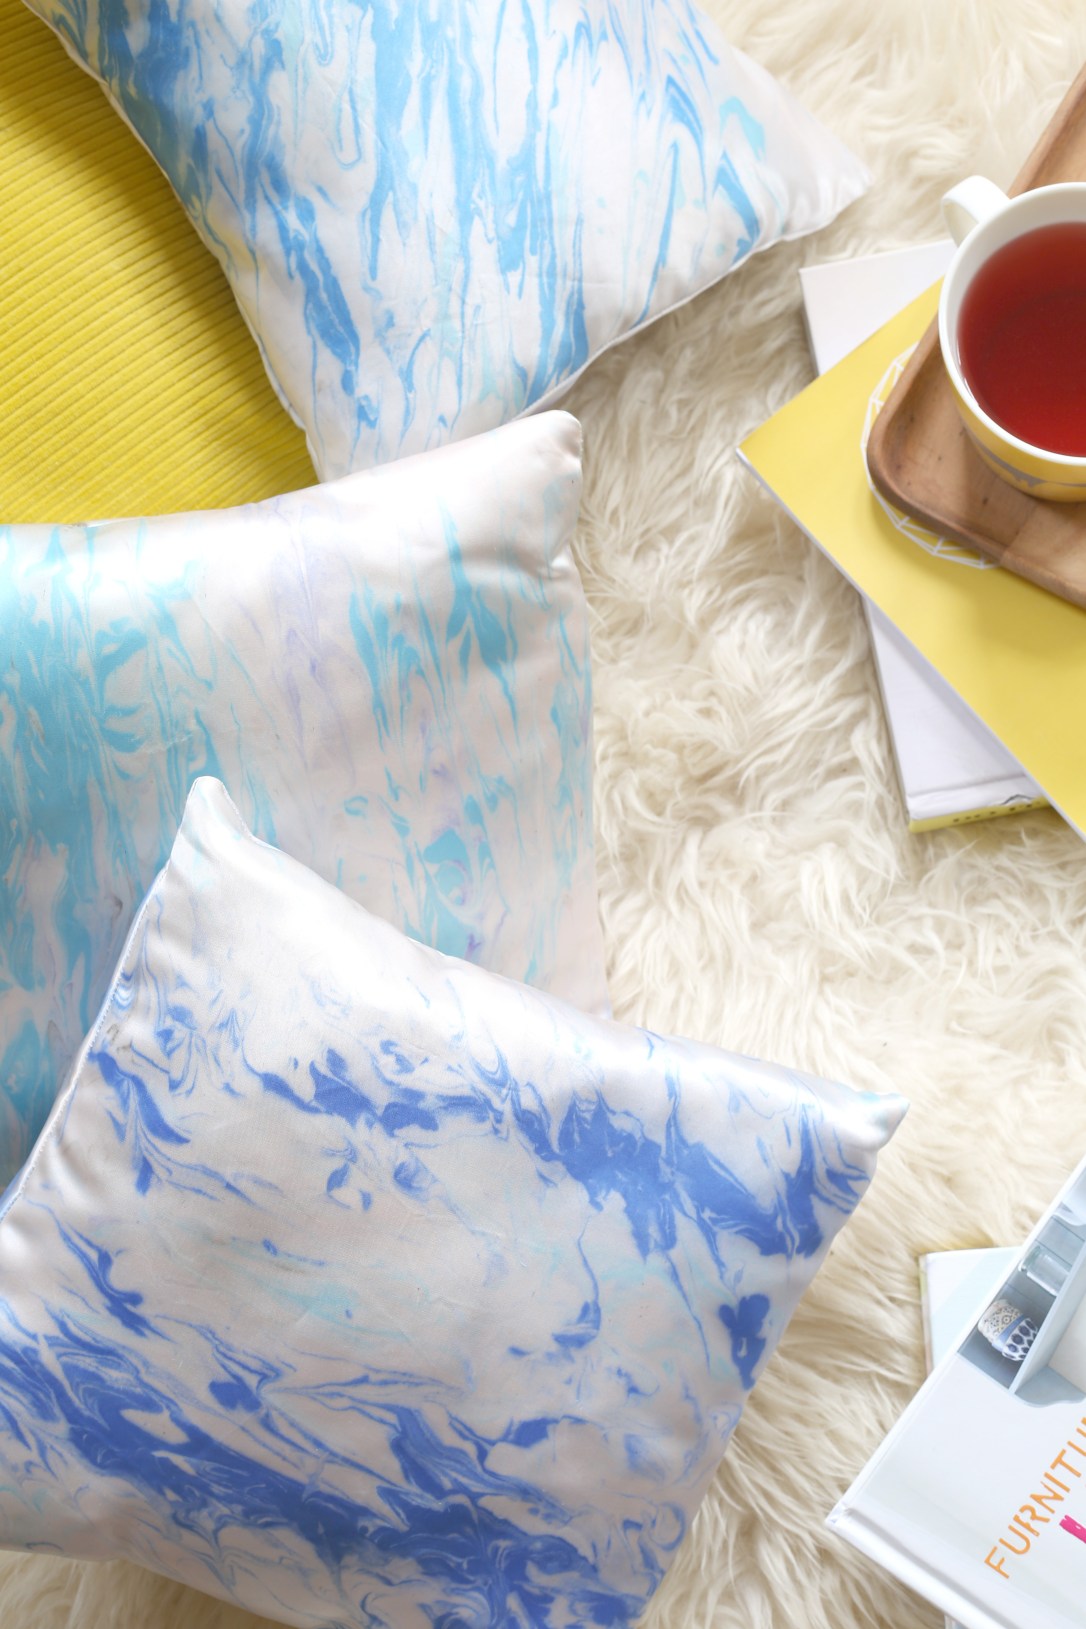
Recently I found an ancient, well 1990’s Dylon leaflet about marbling on fabric and so intrigued were we that we decided to create a marbled cushion.
Traditionally marbling was done on paper and was achieved by floating oil colour on water or size. If you try and do this on fabric, the fabric feels hard and unpleasant.
I did a few experiments on different kinds of cloth and the ones that give the best colour and luminosity are Silk and Satin. I have used a heavy slipper satin for these cushions. For best results use a white or light coloured fabric.

You will need
Shallow plastic trough. This needs to be bigger than the pieces of fabric that you are going to float in it. The fabric needs to be large enough to fit over the cushion pad
Bucket or large jug
Whisk
Fabric pieces. Satin or silk
Dylon fabric paints
Tool from one of the following: Knitting needle or a barbecue stick or toothpick
Roll of kitchen paper
Sewing machine
Scissors
Pins
Thread
Ruler
Fabric marker pen
Cushion pad we used a 29cm sq
Lots of newspaper to cover the work surfaces and access to a sink
Waterproof gloves
Spatula
Instructions
1.Put on your gloves to protect your hands. Whisk the wallpaper paste into water according to the manufacturers instructions, until it is the consistency of yoghurt. Pour into a shallow trough until it is almost full. Leave to stand for at least 15 minutes. Tip: Whilst you are waiting for the paste to set, use the time to cut your fabric so it fits in the troughwith enough border to lift it in and out. Cover the work surface in newspaper.

2. Apply drops of colour onto the surface of the paste and then use your tool to swirl them around. This can look pretty messy at this stage.

3. Carefully lower a piece of fabric onto the paste surface. Leave for a few seconds for the paint to absorb, you may need to push it down with your fingers.

4. Carefully lift off the fabric. It will be covered in paste as well as a pattern below the paste. Leave on a work top for at least 5 minutes.
5. Wash off the paste from the fabric under running water. Leave to dry.
6. When dry, iron the fabric o the back, using a hot setting for 1-2 minutes to set the colour.
Tip : To clean the paste between applications use a spatula to remove the surplus colour.
To make the cushion cover with an envelope back
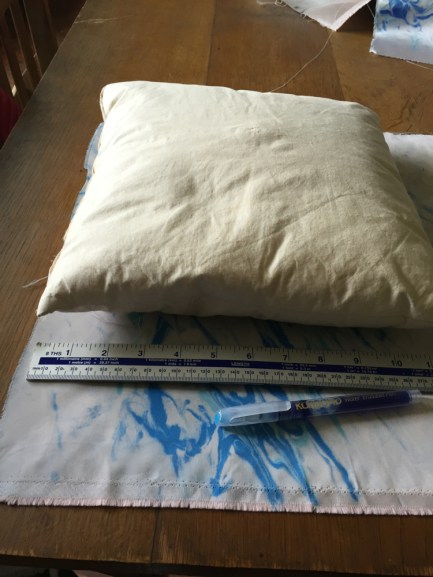
1. Measure the cushion and cut one piece of marbled fabric to that dimension for the cushion front. 29cm x 29cm
2. Cut two further pieces the width of the cushion cover by approximately 2/3 the length. (29x 20cm) For the cushion back.

3.Turn under by 0.5cm and 0.5cm again and pin and then neaten with a running stitch along one 29cm side of each back piece of fabric .
 4. With right sides facing, and neatened edges overlapping in the centre, pin the 2 backs onto the cushion front and sew round the edge.

5.Turn the right way out and fit the cushion pad into the cushion


That is cool! Although I’m going to try it for a painting. I’ve not seen the process thanks for sharing. You have a cool site with inspirational projects!
LikeLiked by 1 person