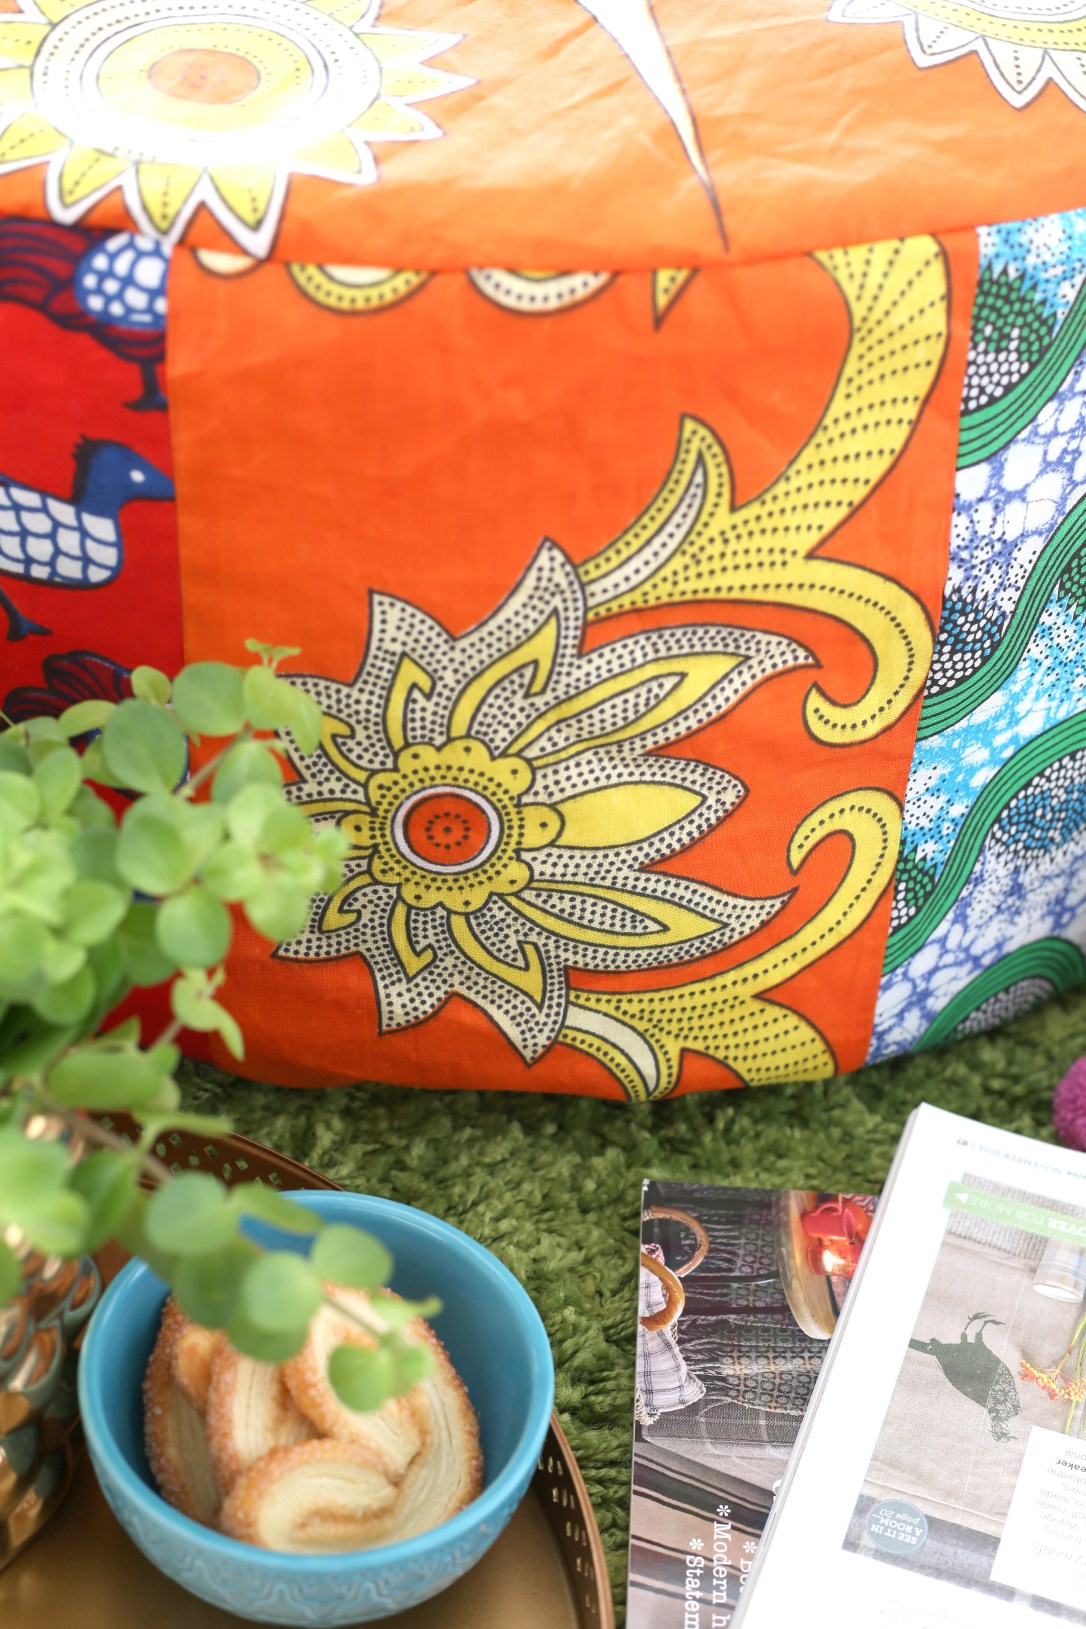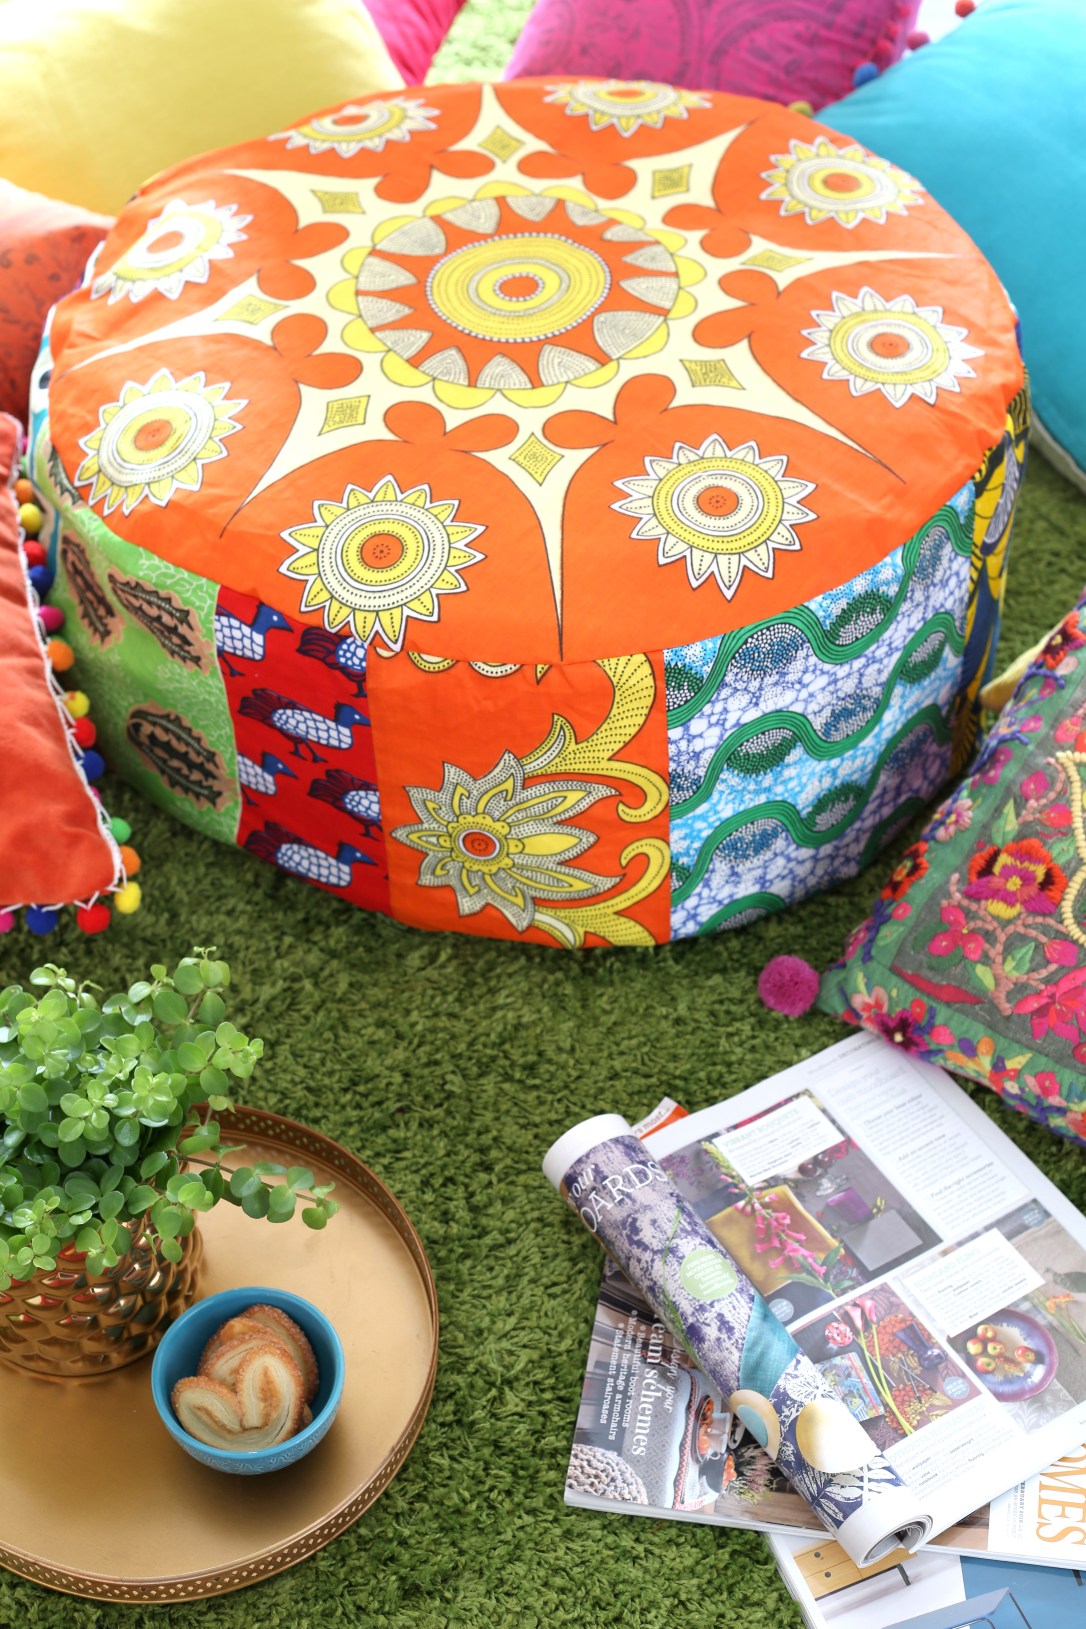
I loved the idea of making a pouffe from African batik style fabric. So wacky and at the same time the perfect item to lift the look of a staid room. Batik is very popular in the South West London in areas such as Tooting and Brixton but you can also buy it in markets in the East of London and Paris.
You will need:
African batik fabrics available in London market stalls 2m
Orange fabric for the base 80cm
Calico 2m
Hook and loop tape 1packet
Water-soluble pen
Beanbag filling I large bag
Pins, needles and thread
Scissors
Paper for pattern
Note:
The instructions for the outer and the calico inner bag are the same. I made the outer part first and then the inner. I used 1cm seam allowance throughout.
Make your pattern.
- The top piece should be a circle with a 25 1/4 ins (64cm) diameter. This includes a 1cm seam allowance. Draw the circle onto paper and use this to cut the top of the lining and the top of the calico liner.
- Cut the paper circle in half and add 4cm strip of paper along each straight edge. Use this pattern to cut two bottom pieces for the outer and the calico liner.
- The sides of the pouffee are made up from sections that are 13ins (33cm) from top to bottom including seam allowance . The width of each section will depend on the pieces of fabric you have. The finished piece will be about 80in plus seam allowance. The amount of seam allowance will be dependent on the number of panels used.
Instructions
1.Use the patterns to cut out all the pieces from the calico and the African Batik fabrics. I used the large motif that was perfect for the top of the pouffe. I decided to piece together lots of different designs to make the side. As the base is not seen, I used some plain orange fabric.
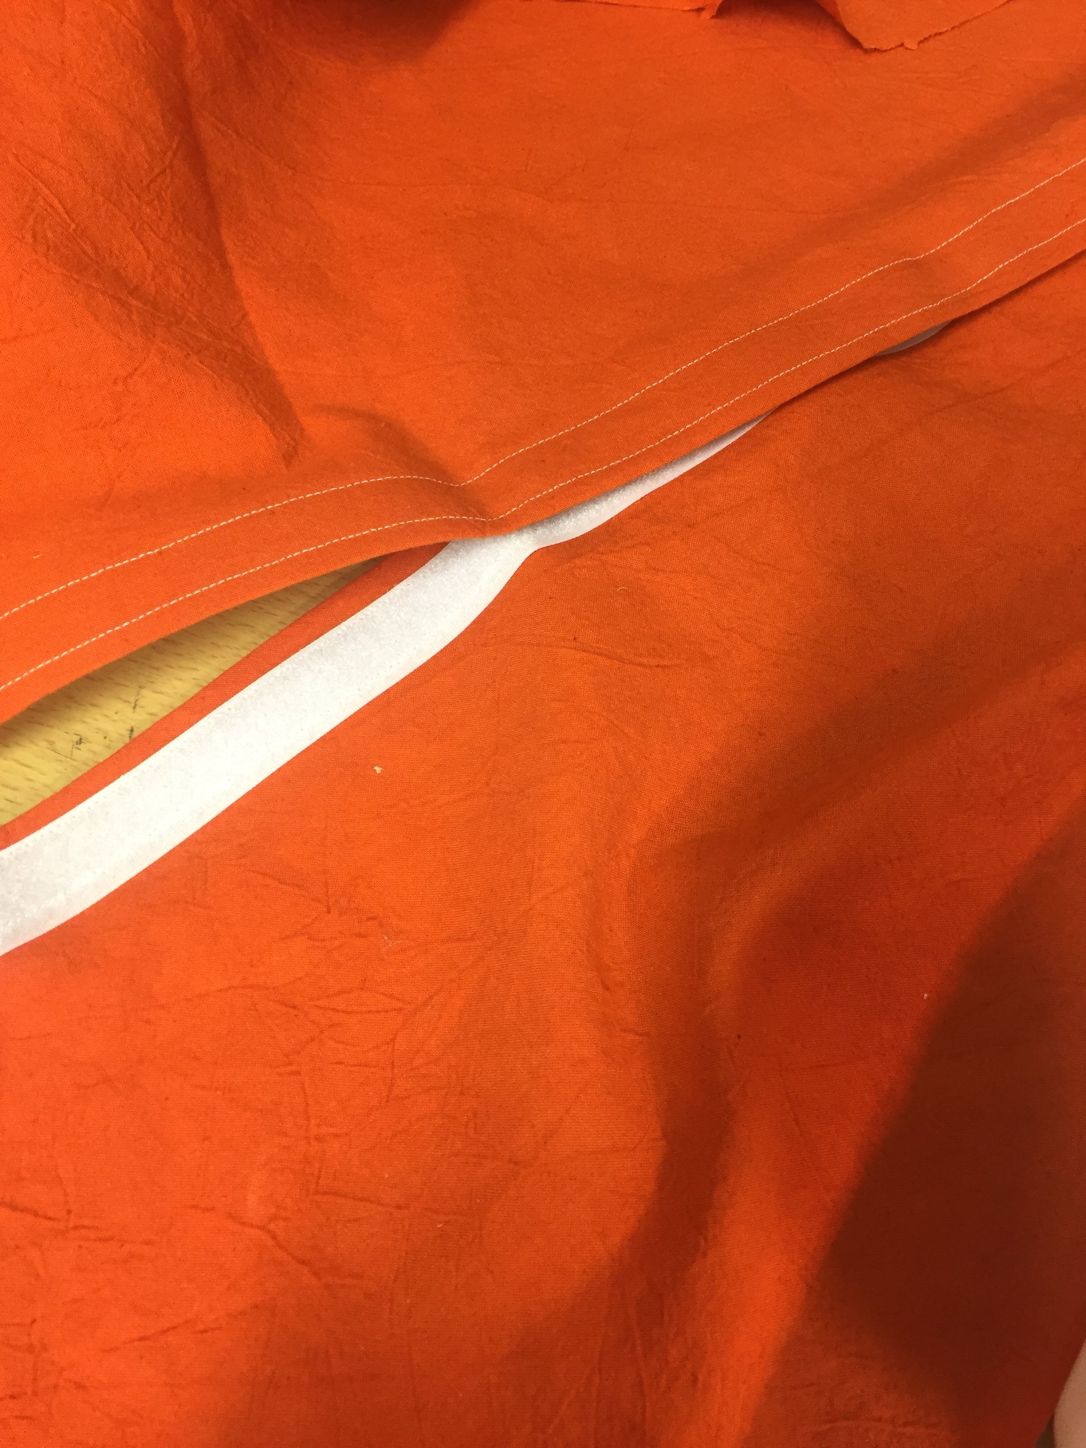
2.First make base with the hook and loop tape opening for the top fabric. On both base pieces turn the straight edge under by 1cm then turn again by 3cm. Sew down, then pin and sew strips of hook and loop tape along both sides.
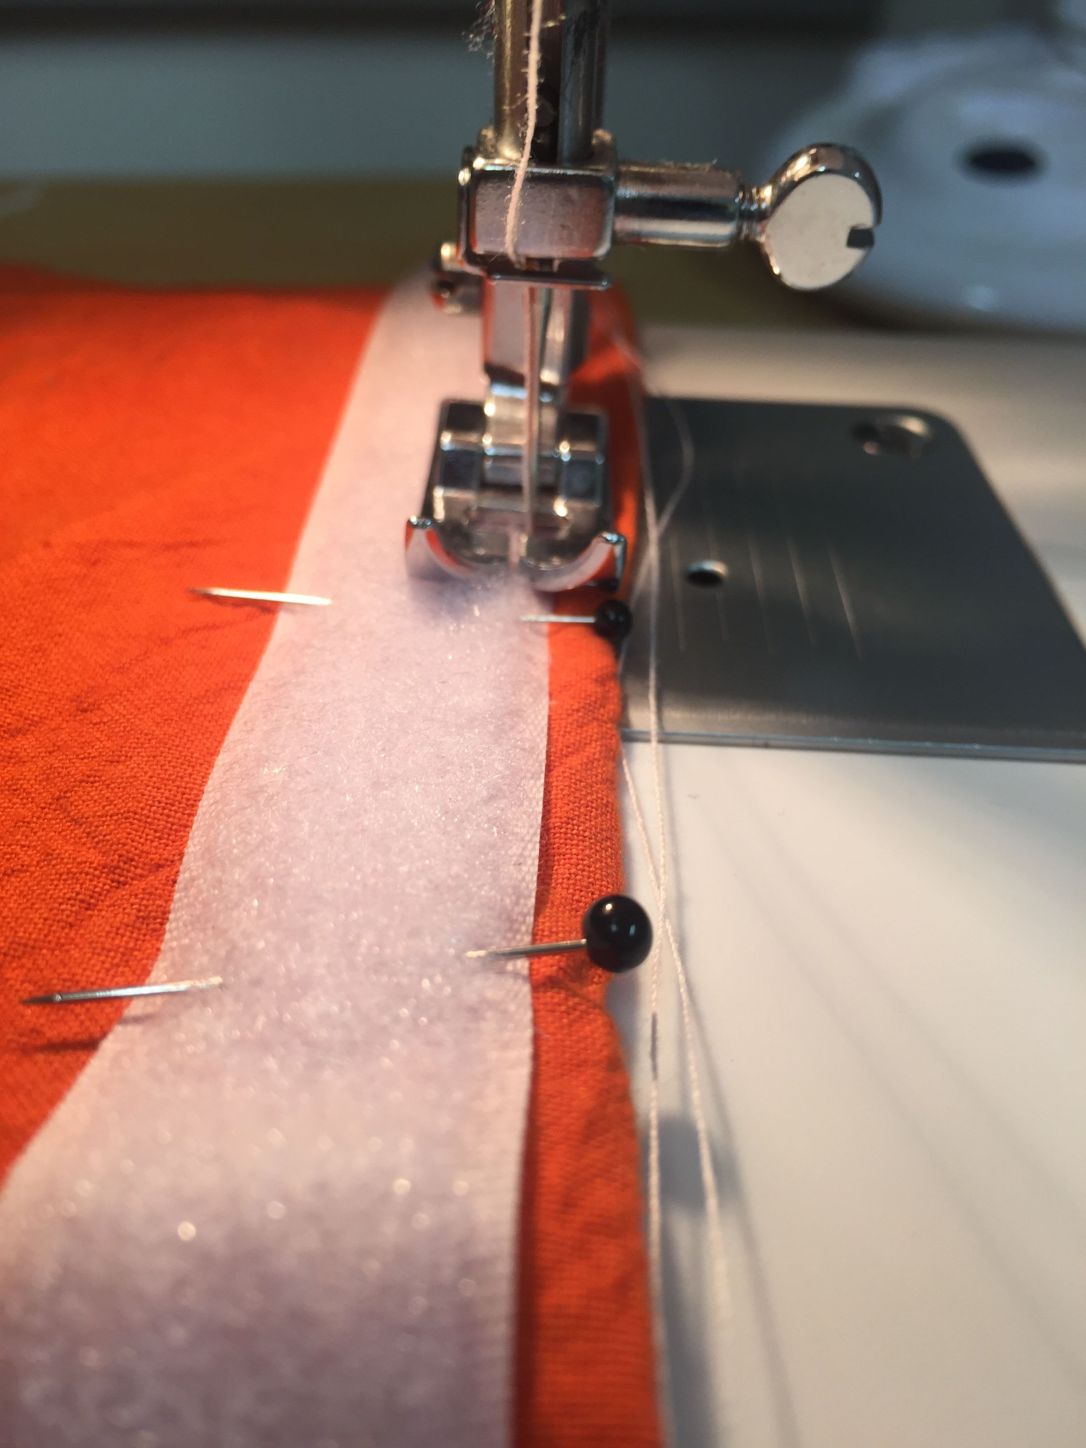
3.Press the hook and loop tape edges together then machine sew the ends of the seams closed.
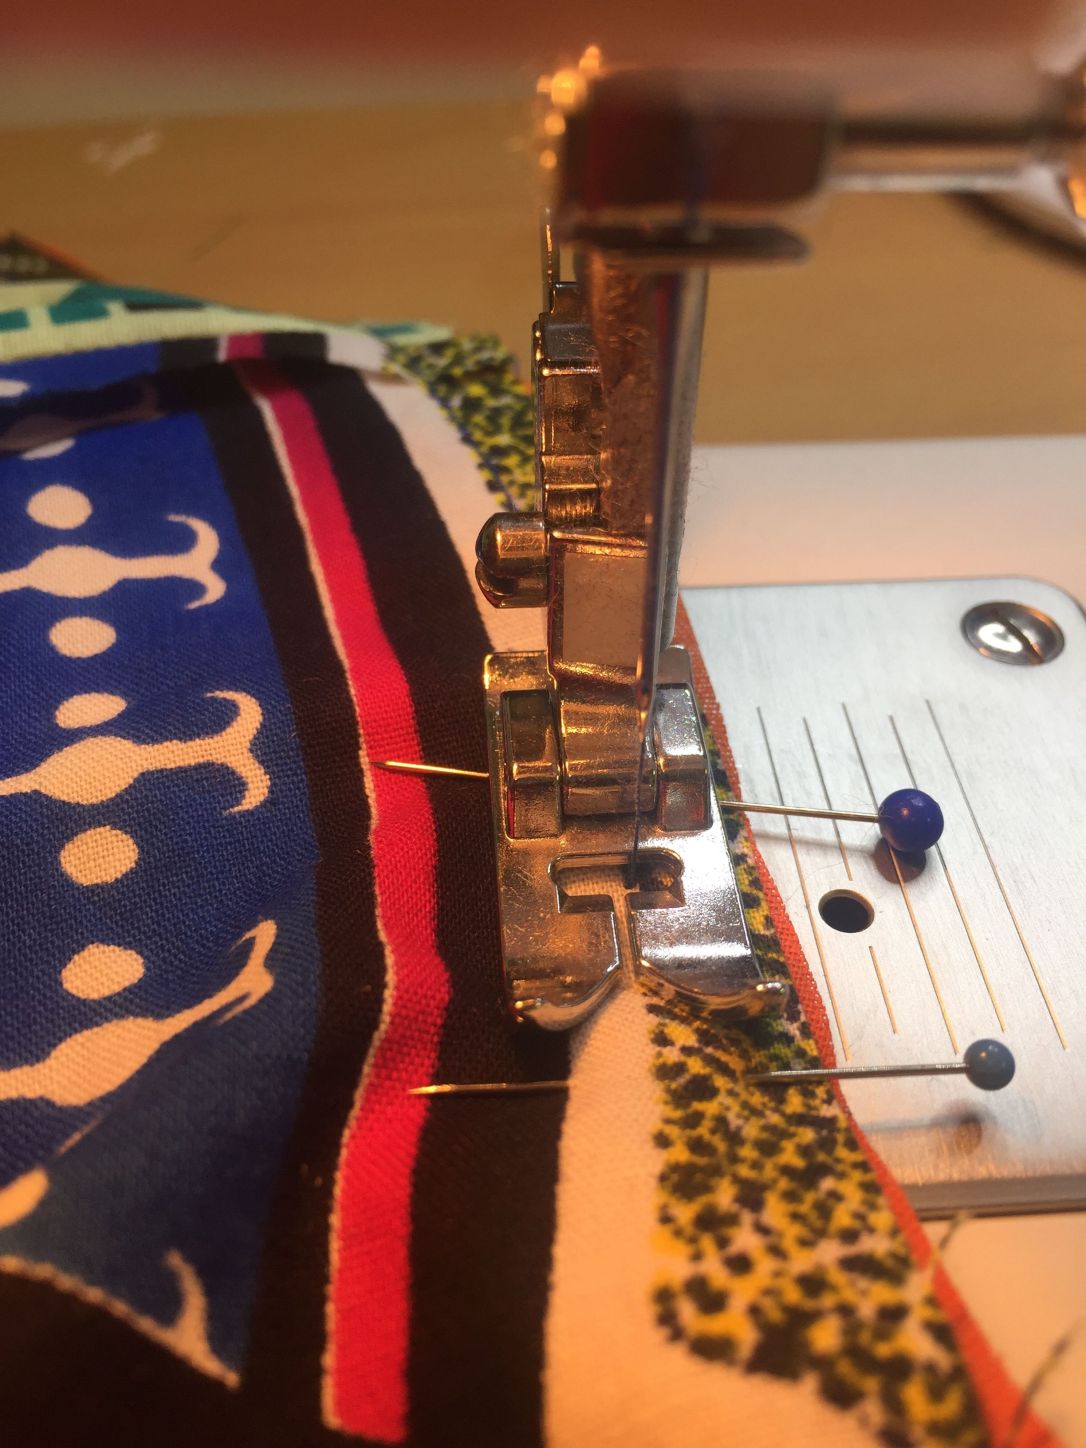
4.With right sides facing, using a 1cm seam allowance pin sew together the sidepieces.
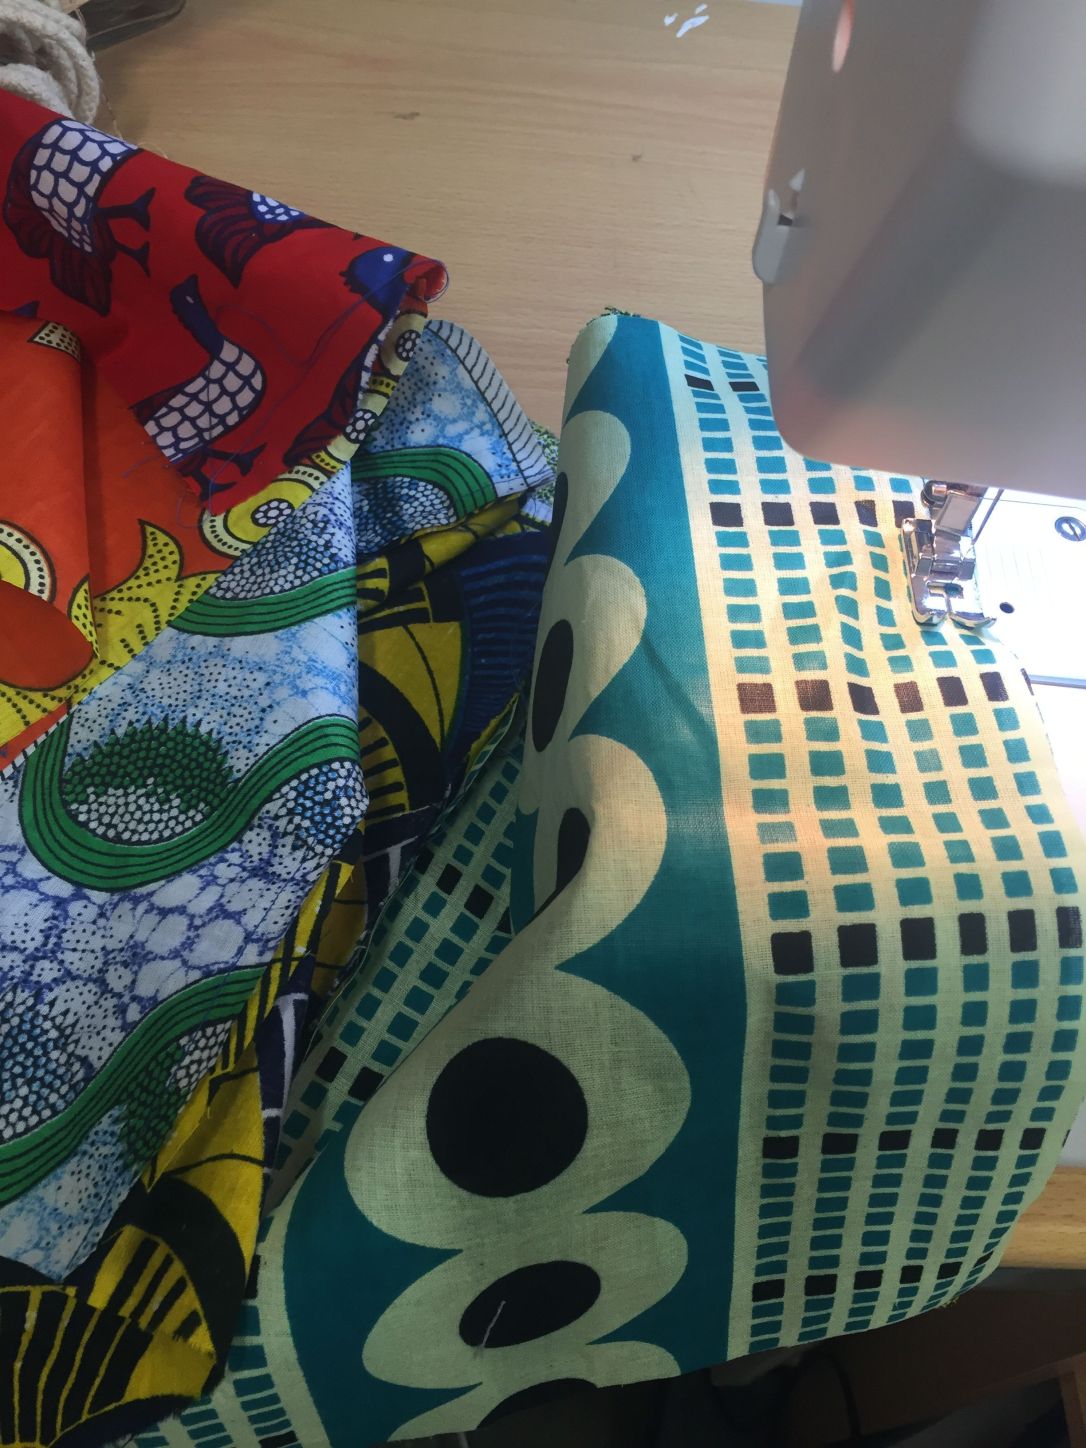
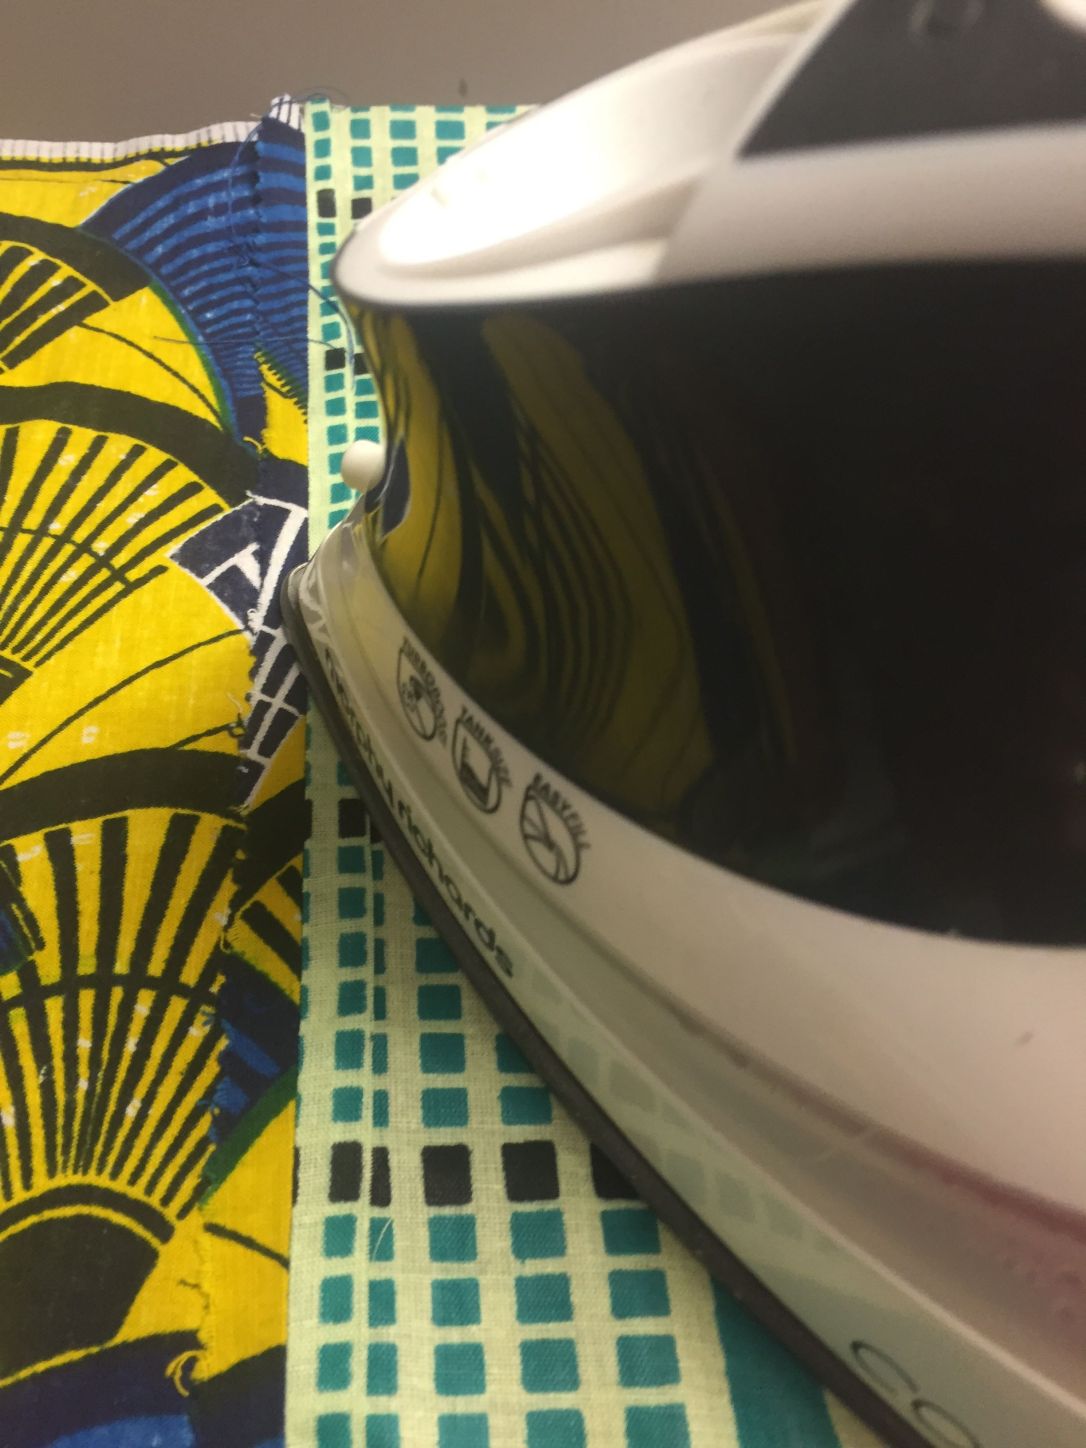
5 Press the seams open so you have a continuous smooth side panel.
6.With right sides facing, pin and sew the sides to first the top and then the base making a drum shape. Turn through the gap so it is right side facing out.

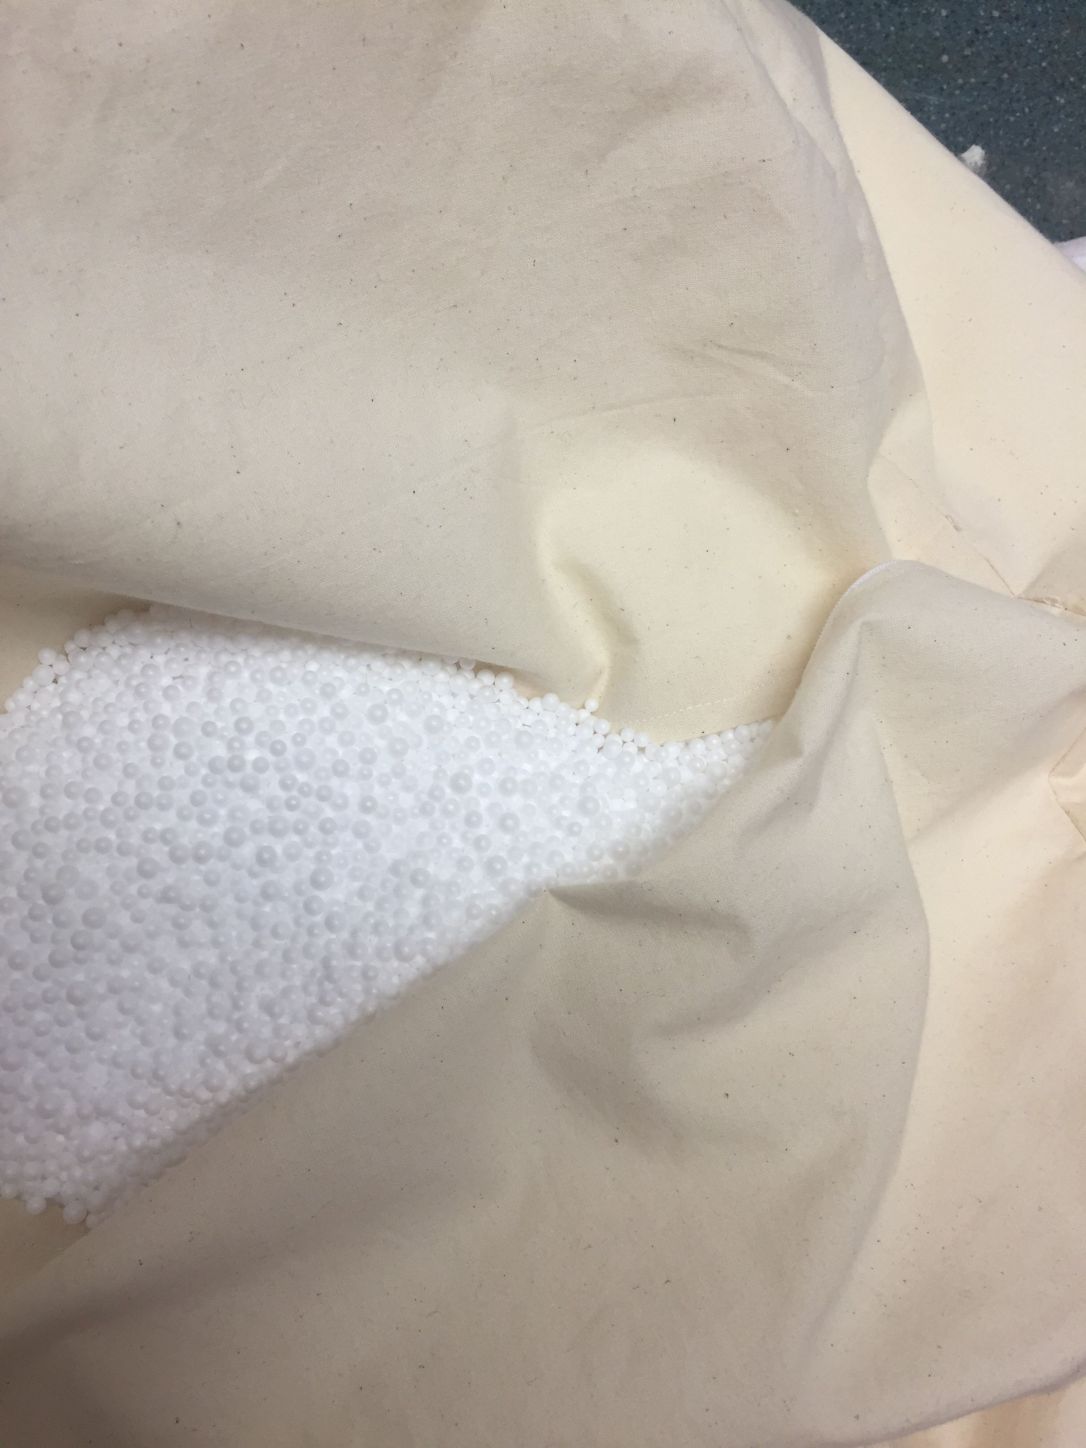
7.To make the liner, repeat the process with the calico. Put the calico liner inside the fabric cover, then fill with polystyrene beads.
Tip
Fold and mark the fabric for the top, base and sides into eighths. When you come to pin on the sides, match up the pen marks on the top and base.
Stockists
Hook and loop tape, Water Soluble Pen
http://www.korbond.co.uk/ korbond.co.uk/
Beanbag Filling